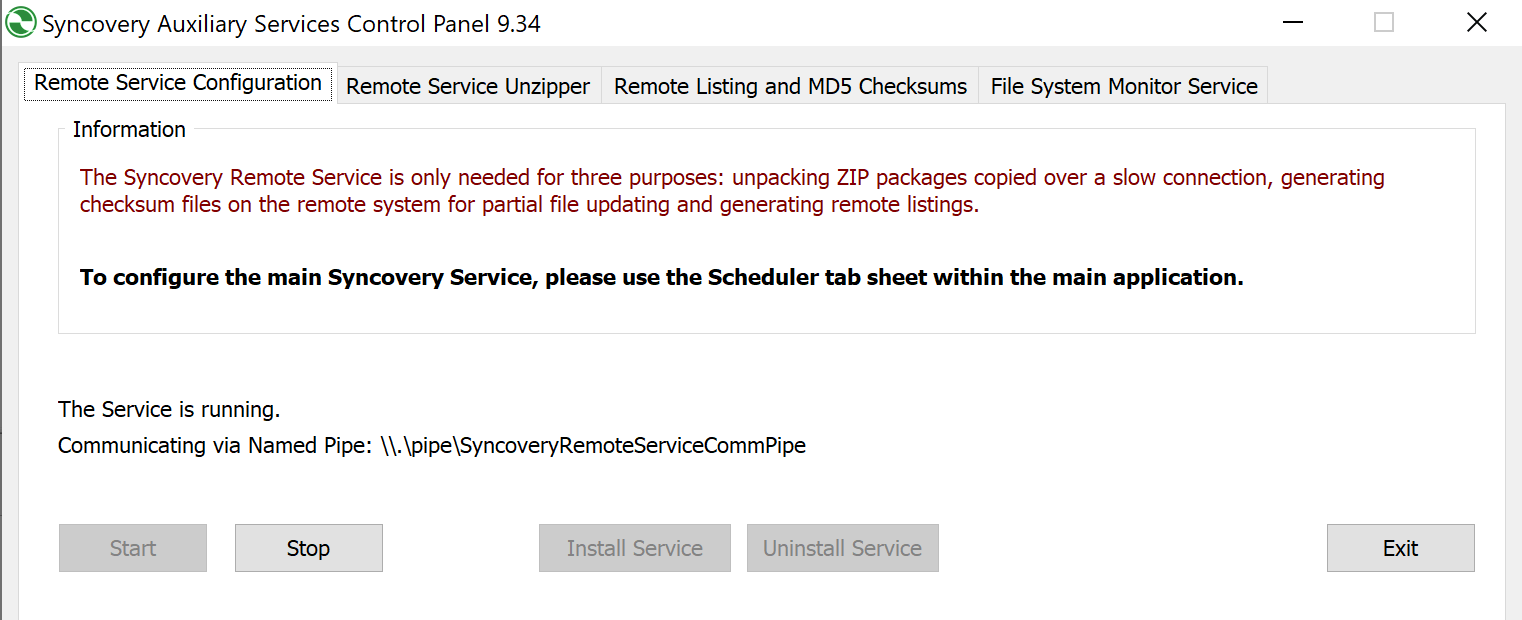
The Remote Service is a useful tool to enable some special features which are somewhat less frequently used. There are two kinds of services, the Syncovery Service, which is the scheduler and runs profiles in the background, and the Syncovery Remote Service, which is not needed to run any profiles.
The Syncovery Remote Service is installed on the “other end”. For example, if you use Syncovery on a client which exchanges files with a server, then Syncovery Remote Service can be installed on the server to perform one or more of the following tasks:
Unzip incoming Zip or Sz Packages. This feature is used in conjunction with the Compressed Packages capability in order to speed up the transfer of files.
Generate a Remote Listing. This feature is used to speed up the “Building File List” phase.
Generate MD5 Checksums for Block Level Copying and for file verification (hash comparison).
Installation of the Syncovery Remote Service
On Windows, the Remote Service is installed using the same Setup program from our download page that you use to install Syncovery. When running the Setup, make sure you include the Syncovery Remote Service and the Auxiliary Services Control Panel. On other platforms, the Remote Service is a separate download.
You will find the Auxiliary Services Control Panel in the Syncovery program group in your Windows Start menu. Please run it and install the service with it.

Configure Unzipper
To use the unzipping capability, you need to specify the “folders to watch” on the tab sheet “Remote Service Unzipper”. Each folder must be the same one that you specify as destination folder in the Syncovery profile on the other computer. Except that here, you specify local folders, but they must be the same ones. If you have several profiles with different destination folders, each one must be specified here on a separate line, even if they are all on the same drive.
The Syncovery profile on the sending maching needs to be set up to “Use Compressed Packages” and on the Compressed Package Configuration dialog, you need to use the setting “Syncovery Remote Service will be used”.
The Syncovery main program will put the compressed packages into a subfolder called “Incoming Syncovery Packages”. This is actually the folder that the Remote Service’s unzipper will watch, but you don’t specify it. You specify the same folder that is used in the profile.
Configure Checksummer and Remote Lister
The checksummer and the remote lister are configured on the third tab sheet. Like the unzipper, they watch certain folders for incoming files. The incoming files are special request files sent by the synchronizer on the other machine. So, the Synchronizer does not communicate with the Remote Service using any kind of network protocol. Instead, it puts a “request file” with a special filename into the folder on the server, and the Remote Service sees the file, reads it and then knows what to do and deletes the request file.
You need to specify the “folders to watch” for incoming checksum or remote listing request files. Each folder must be the same one that you specify in the Syncovery profile on the other computer. Except that here, you specify local folders, but they must be the same ones. If you have several profiles accessing different folders on this machine, each one must be specified here on a separate line, even if they are all on the same drive.
Using the Remote Listing Feature
Once the Remote Service has been set up correctly, you can speed up the “Building File List” phase considerably by using the checkmark “Left or Right side listing uses Remote Service”, which can be found in the profiles on the “Specials” tab sheet, when editing them in Advanced Mode. In most cases, only one of the two remote listing checkmarks are used (only the one for the non-local side).
Using the Checksummer Feature for Block Level Copying
You will find more information on Block Level Copying on this page.
